· 6 min read
Latex to Google Docs
Convert LaTeX files to Google Docs format using Auto-LaTeX Equations, Articul8, and Bulk Converter Pro add-ons. Also learn how to render LaTeX equations, collaborate with others, and streamline your workflow.
LaTeX is a powerful tool for creating complex mathematical equations, but it can be challenging to integrate it with Google Docs. Fortunately, there are several add-ons available that can help you convert LaTeX files into Google Docs format, making it easier to collaborate with others. In this tutorial, I’ll demonstrate three different methods for converting LaTeX to Google Docs using the Auto-LaTeX Equations, Articul8, and Bulk Converter Pro add-ons.
LaTeX to Google Docs Using the Auto-LaTeX Equations Add-on
In this section, I’ll explain how to use the Auto-LaTeX Equations add-on to convert LaTeX text into equation format as there is no native support for LaTeX in Google Docs.
The Auto-LaTeX Equations add-on uses the MathJax library to render the LaTeX code as equations. MathJax is a JavaScript library that renders mathematical equations in web pages using LaTeX, MathML, and AsciiMath notations. It provides high-quality, accessible, and scalable math rendering across different browsers and devices without requiring additional plugins. MathJax dynamically translates mathematical content into HTML, SVG, or MathML, ensuring that equations look consistent and professional across all platforms. It’s widely used in academic and educational contexts to display complex mathematical formulas clearly.
A full list of LaTeX codes can be found on the AOPS Wiki.
- Install the Auto-LaTeX Equations add-on from the Google Workspace add-on store.
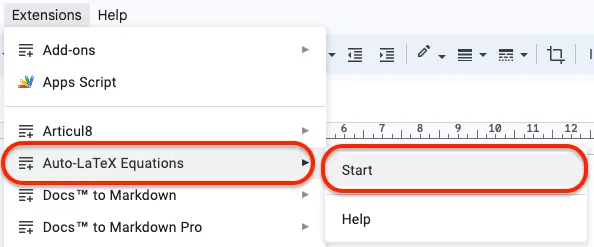
- Once the add-on is installed, launch it from the menu by navigating to Extensions -> Auto-LaTeX Equations -> Start, as shown below:
It will display the sidebar as shown below:
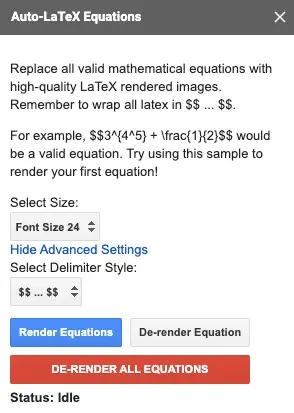
The add-on contains two options: Font Size and Delimiter Style.
- Font Size allows you to define the font size used while creating images from the LaTeX equation text.
- Delimiter Style allows you to define the delimiter used to detect LaTeX equations in the document.
If your LaTeX text is enclosed within $$, you can leave the default setting. If your LaTeX text is enclosed within \[ and \], select that option as the delimiter.
To convert the LaTeX text into equation format inside Google Docs,
- Copy the LaTeX text from your file and paste it into your Google Docs. It will initially appear as plain text.
- Click on the Render Equations button. The add-on will parse the entire document, find the LaTeX equations defined within the selected delimiter, create equivalent LaTeX images, and automatically insert them into the document.
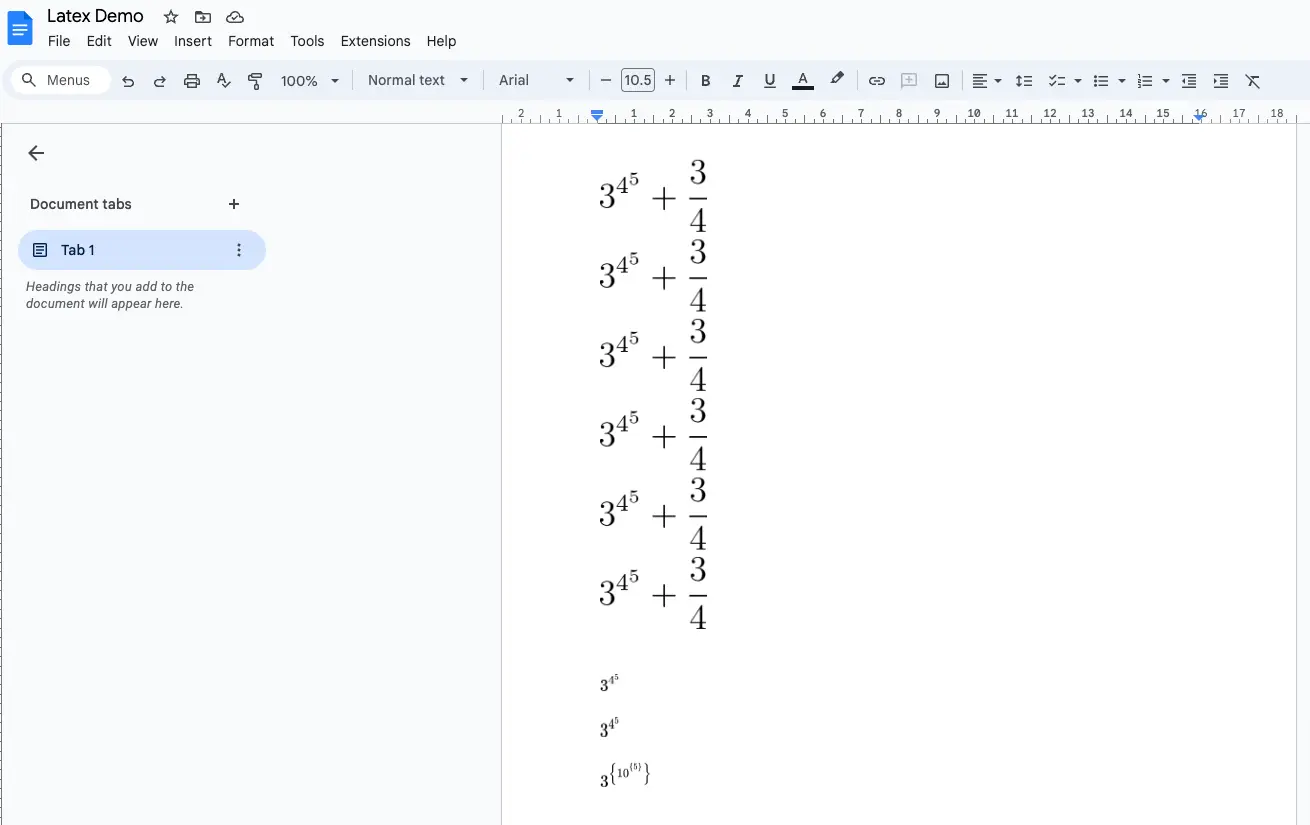
The rendered equations will look like the one below:
The add-on also provides an option to derender a specific equation. This feature is useful when you want to make corrections or updates to the equations. Place your cursor right before the equation and click De-render Equation to convert the specific equation to code.
If you want to completely derender all equations, you can use the De-render all equations button.
Other points to note are:
- Use
Shift+Enterfor multi-line equations instead ofEnter. It automatically converts to the new lineLaTeXcode -\\(two backslashes) while rendering the equation.
Disadvantages:
The disadvantage of using this add-on is that you need to type the LaTeX code manually, and it can only convert the code into LaTeX images. It does not provide tools for creating LaTeX equations using special editors, nor does it support live rendering of LaTeX equations as you type.
LaTeX to Google Docs Using the Articul8 Add-on
In this section, I’ll explain how to use the Articul8 add-on to insert LaTeX text into equation format, as Google Docs does not natively support LaTeX.
Articul8 provides an editor that lets you create equations using options from the editor, so you don’t have to remember and type all the LaTeX code manually. It also supports live rendering of LaTeX equations as images. Start by typing the equations enclosed within $$, and once complete, press the Enter key. The equation will be rendered as an image.
The add-on also offers features such as Numbering Items to automatically number Figures, Tables, Equations, and headings. Additionally, it supports exporting the final Google Docs document in Markdown format. The output zip file will include the Markdown file and images.
- Install the Articul8 add-on from the Google Workspace add-on store.
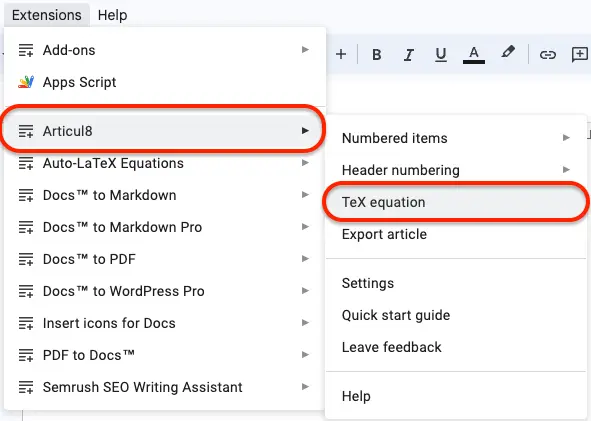
- Once installed, launch the add-on from the menu by navigating to Extensions -> Articul8 -> TeX Equation, as shown below:
The sidebar will appear as shown below:

Use the editor to create LaTeX equations and click the Save button to insert the equations as images in Google Docs.
To type equations directly in Google Docs and render them as images, enable the Live rendering option, as shown below:

Disadvantages:
The add-on does not convert existing plain text equations into LaTeX images. Only supports inserting new LaTex codes.
Bulk Converting LaTeX to Google Docs Using the Bulk Converter Pro Add-on
If you have multiple LaTeX files and want to create Google Docs for collaborative editing, you can use the Bulk Converter Pro add-on. This tool makes it easy to convert files from one format to another.
Install the Bulk Converter Pro add-on from the Google Workspace add-on store.
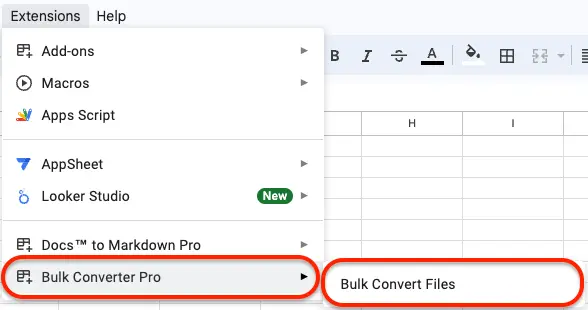
After installation, launch the add-on by navigating to Extensions -> Bulk Converter Pro -> Bulk Convert Files, as shown below:
The sidebar will appear as shown below:
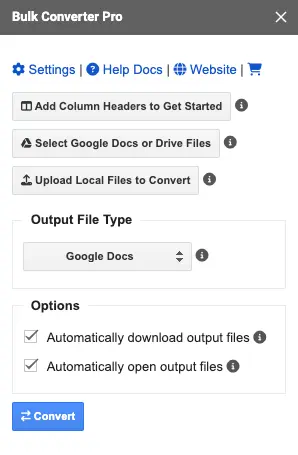
Upload the LaTeX files you want to convert to Google Docs format using the Upload Local Files to Convert option. Now the input sheet will look like the one below:

- Select the Output File Type as Google Docs and click the Convert option.
- The LaTeX files will be converted into Google Docs format. Keep in mind that the equations will not be rendered as equations in Google Docs; instead, the LaTeX will be inserted as plain text. You can further collaborate in Google Docs to update the document.
- Optionally, to convert the LaTeX code into equations, enclose the equations within the $$ or [ and ] symbols, if they are not enclosed with these delimiters already, and then use the Auto-LaTeX Equations add-on to render the equations as LaTeX images in Google Docs.
You can use this option to convert documents generated from tools like Overleaf to Google Docs and collaborate further.
Tips and Tricks
- When using the Auto-LaTeX Equations add-on, make sure to use the correct delimiter style to ensure that your LaTeX equations are rendered correctly.
- If you’re using the Articul8 add-on, take advantage of its live rendering feature to see your equations rendered in real-time.
- When converting multiple LaTeX files using the Bulk Converter Pro add-on, manually enclose the LaTeX codes with
$$or\[and\]symbols, if they are not enclosed already, and use the Auto-LaTeX Equations add-on to render the equations, as the LaTeX will be inserted into the Google Docs as plain text.
Conclusion
Converting LaTeX files to Google Docs format can be a complex process, but with the right tools and techniques, it can be accomplished efficiently and effectively.
In this tutorial, we’ve explored three different methods for converting LaTeX to Google Docs using the Auto-LaTeX Equations, Articul8, and Bulk Converter Pro add-ons.
By following these steps and tips, you’ll be able to easily integrate LaTeX into your Google Docs workflow and collaborate with others more effectively.