· 10 min read
How to Add a JPG image in Latex
Learn how to add JPG images to LaTeX documents, customize their size and positioning, and enhance visual appeal. Discover how to wrap text around images, use subfigures, and adjust image quality for professional-looking documents.

LaTeX provides powerful tools for image handling, particularly through the graphicx package, which supports formats like JPG. This allows me to control the positioning, alignment, and sizing of images precisely, ensuring they fit seamlessly into academic and professional documents.
Proper image management is essential for maintaining a cohesive layout and enhancing readability, especially in content-rich materials like research papers and reports.
In this tutorial, I’ll explain how to add JPG images to a LaTeX document, including how to add captions, customize sizes, and adjust image positioning.
Including a JPG Image in LaTeX
To include a JPG image in LaTeX, use the graphicx package, as it is essential for simplifying graphics integration and enhancing overall presentation quality in LaTeX documents.
To include a JPG image in your LaTeX document, follow these steps:
Load the
graphicxPackage: Start by loading thegraphicxpackage in your document’s preamble with the command\usepackage{graphicx}.\documentclass{article}\usepackage{graphicx}\begin{document}Insert the JPG Image: Use the
\includegraphics{}command to insert a JPG image. Specify the file name of your JPG image, including the file extension. For example, to include an image namedexample.jpg, write:\includegraphics{example.jpg}Check Image Location: Ensure that the JPG file is located in the same directory as your
.texfile. If the image is in a different location, specify the relative path. For instance, if your JPG file is stored in a subfolder namedimages, include it like this:\includegraphics{images/example.jpg}
The example image would be rendered as:

By following these steps, you can successfully add JPG images to your LaTeX document.
Note: Using \includegraphics{} automatically adjusts the image to fit within the document. This command does not alter the image’s aspect ratio, so if the image is wider than the text width, it will overflow.
Specifying Image Size
To specify the size of a JPG image in LaTeX, use the optional parameters within the \includegraphics{} command, focusing on the width and height options to scale images appropriately.
For example, if you want the image to span the entire width of the text, you can write:
\includegraphics[width=\textwidth]{image.jpg}This command scales the image to fit the width of the text area, automatically adjusting the height to maintain the original aspect ratio.
If you need the image to fit a specific height while adjusting the width accordingly, you can use:
\includegraphics[height=5cm]{image.jpg}In this case,
- The height is set to 5 cm,
- The width will adjust automatically to preserve the image’s proportions.

Maintaining the aspect ratio of an image is crucial to avoid distortion. To ensure that the aspect ratio remains intact while specifying both dimensions, it’s best to set either the width or height parameter without fixing both. For example:
\includegraphics[width=0.5\textwidth, height=5cm]{image.jpg}This can lead to distortion, as both dimensions are forced.
Instead:
- Use one of the parameters and let LaTeX calculate the other automatically.
- You can also use relative units for flexible image sizing.
Common units include \linewidth, \textwidth, and physical units such as cm or in.
For example, to make an image occupy half the line width, you can write:
\includegraphics[width=0.5\linewidth]{image.jpg}Alternatively, if you want to set a specific size in centimeters, you could use:
\includegraphics[width=10cm]{image.jpg}Using these size specifications effectively allows you to integrate images that enhance the visual appeal of your document while ensuring they fit seamlessly within the layout.
Positioning and Placement of Images
To control image positioning in LaTeX, use the figure environment to let images “float” to an optimal location, maintaining a clean layout without disrupting the text flow.
To use the figure environment, enclose your image command within \begin{figure} and \end{figure} tags. For example:
\begin{figure} \centering \includegraphics[width=\textwidth]{example.jpg} \caption{An example image.} \label{fig:example}\end{figure}
Within the figure environment, you can control the placement of your images using placement specifiers. Common options include:
[h]: Places the figure approximately where it appears in the text (here).[t]: Positions the figure at the top of the page (top).[b]: Places the figure at the bottom of the page (bottom).[p]: Forces the figure onto a separate page dedicated to floats (page).[!h]: Overrides LaTeX’s internal parameters, making it more likely to place the figure exactly where specified.
By combining these specifiers, you can improve placement control. For instance, using [htb] instructs LaTeX to try placing the figure here first, then at the top of the page, and finally at the bottom if neither of the first two options is feasible. This flexibility allows you to optimize the layout based on your document’s specific needs, ensuring that images are presented in a manner that enhances readability and visual appeal.
It is also important to note that while these placement options give you some control, LaTeX may still reposition the figure to prevent awkward gaps in the text. Always check the final output to ensure images are positioned as desired, and adjust the specifiers accordingly to achieve the best layout.
Aligning Images in LaTeX
To align images in LaTeX, you can use alignment commands and figure environments that control the positioning of images within your document.
To center an image, place the \centering command inside the figure environment. This method ensures that the image is perfectly centered on the page, enhancing visual appeal. For example:
\begin{figure} \centering \includegraphics[width=0.8\textwidth]{example.jpg} \caption{A centered image.} \label{fig:centered}\end{figure}
This code snippet ensures that the image is centered, providing a balanced look.
If you want to align an image to the left or right, you can use the flushleft or flushright environments. These environments allow you to easily position images on either side of the page. To align an image to the left, use:
\begin{figure} \begin{flushleft} \includegraphics[width=0.4\textwidth]{example.jpg} \caption{A left-aligned image.} \label{fig:left} \end{flushleft}\end{figure}Conversely, to align an image to the right, use the following code:
\begin{figure} \begin{flushright} \includegraphics[width=0.4\textwidth]{example.jpg} \caption{A right-aligned image.} \label{fig:right} \end{flushright}\end{figure}These approaches provide straightforward alignment options without the need for complex commands.
To place images side by side, the minipage environment is particularly effective. This environment allows you to create separate blocks for each image, giving you full control over their alignment and spacing. For instance, you can write:
\begin{figure} \begin{minipage}{0.45\textwidth} \centering \includegraphics[width=\textwidth]{example1.jpg} \caption{First image.} \label{fig:first} \end{minipage} \hfill \begin{minipage}{0.45\textwidth} \centering \includegraphics[width=\textwidth]{example2.jpg} \caption{Second image.} \label{fig:second} \end{minipage}\end{figure}In this example,
- Each image is placed in its own
minipage, allowing you to position them next to each other while controlling their individual widths. - The
\hfillcommand adds space between the two images, ensuring they do not crowd each other.
Adding Captions and Labels to Images
To add captions and labels to images in LaTeX, you can utilize the \caption{} command within the figure environment, allowing you to provide descriptive text that explains the content of the image.
Captions should be placed immediately after the \includegraphics{} command to ensure optimal formatting. For example:
\begin{figure} \centering \includegraphics[width=0.8\textwidth]{example.jpg} \caption{This is an example image.} \label{fig:example}\end{figure}In this snippet, the caption is located below the image, which is the standard practice. However, you can also configure captions to appear above the image by placing the \caption{} command before the \includegraphics{} command:
\begin{figure} \centering \caption{This caption appears above the image.} \includegraphics[width=0.8\textwidth]{example.jpg} \label{fig:example2}\end{figure}
This layout choice can be useful depending on the document style and the specific emphasis you want to place on the caption.
Using labels for cross-referencing images is another essential feature in LaTeX. After adding a label with the \label{} command, you can reference the figure later in your text using the \ref{} command.
For example, if you have labeled an image with \label{fig:example}, you can refer to it in your document like this:
As shown in Figure \ref{fig:example}, the results indicate...This command automatically inserts the appropriate figure number, ensuring that the reference remains accurate even if the order of figures changes.
Adjusting Image Quality and Resolution
LaTeX processes images in terms of pixels and their corresponding resolution. When you include a JPG image, it retains its original resolution; however, the final output quality can be influenced by how the image is scaled within your document.
To ensure high-quality image output, start with a high-resolution source file, ideally with at least 300 DPI (dots per inch) for print documents. For example:
\begin{figure} \centering \includegraphics[width=0.5\textwidth]{example.jpg} \caption{High-resolution image example.} \label{fig:highres}\end{figure}
When scaling images down, it’s important to maintain the aspect ratio to prevent distortion and ensure visual integrity. Use width or height parameters in the \includegraphics{} command without specifying both dimensions, which keeps the original aspect ratio intact.
For example, if you have a large image and want to reduce its size while preserving quality, you can specify just the width:
\includegraphics[width=0.6\textwidth]{large_image.jpg}Scaling down from a larger, high-resolution image generally results in better quality than starting with a smaller, lower-resolution image.
Additionally, if you need to check the output quality, consider compiling your LaTeX document using PDFLaTeX or XeLaTeX, as these compilers better handle images and preserve their quality compared to DVI output formats.
Wrapping Text Around Images
To wrap text around images in LaTeX, the wrapfig package is a powerful tool that allows you to seamlessly integrate images with surrounding text. To use this package, you first need to include it in your LaTeX preamble:
\usepackage{wrapfig}Once the package is loaded, you can use the wrapfigure environment to place images either on the left or right side of the text. For example, to wrap text around an image on the right, you can write:
\begin{wrapfigure}{r}{0.4\textwidth} \centering \includegraphics[width=0.38\textwidth]{example.jpg} \caption{Example image with wrapped text.} \label{fig:wrapexample}\end{wrapfigure}In this code,
- The
{r}indicates that the image will be positioned on the right, {0.4\textwidth}specifies the width of the wrapped figure, allowing text to flow around it.
Conversely, you can place the image on the left by using {l}:
\begin{wrapfigure}{l}{0.4\textwidth} \centering \includegraphics[width=0.38\textwidth]{example.jpg} \caption{Another example with left wrapping.} \label{fig:wrapexample2}\end{wrapfigure}The text and image would be rendered as:

This flexibility allows you to choose the placement that best fits the layout of your document.
Adjusting the wrapping and spacing around images can greatly enhance readability and aesthetics. You can modify the space between the text and the image by using optional parameters in the wrapfigure environment. For instance, you can add vertical and horizontal spacing by including options in the command:
\begin{wrapfigure}[lineheight]{r}{0.4\textwidth} \vspace{-10pt} % Adjusts vertical space \centering \includegraphics[width=0.38\textwidth]{example.jpg} \caption{Adjusted spacing example.} \label{fig:wrapspacing}\end{wrapfigure}In this example, adjusting \vspace{-10pt} decreases the vertical space above the image, allowing for a tighter integration with the text. Experimenting with different values can help you achieve the desired appearance.
Using Subfigures for Multi-Image Figures
To use subfigures for arranging multiple images in one figure in LaTeX, you can utilize the subfig or subcaption package, which provides a structured way to manage and format subfigures effectively. To get started, include the package in your preamble with either of the following commands:
\usepackage{subfig} % For subfig packageor
\usepackage{subcaption} % For subcaption packageOnce you have included the appropriate package, you can create a figure environment that contains multiple subfigures. For example, using the subfig package, you can arrange two images side by side like this:
\begin{figure}[h] \centering \subfloat[First image caption.]{% \includegraphics[width=0.45\textwidth]{image1.jpg}% \label{fig:sub1}% }\hfill \subfloat[Second image caption.]{% \includegraphics[width=0.45\textwidth]{image2.jpg}% \label{fig:sub2}% } \caption{Overall caption for the figure with subfigures.} \label{fig:multi}\end{figure}In this example, \subfloat is used to create each subfigure. The {h} option in the figure environment specifies the preferred placement, while \hfill creates space between the subfigures, ensuring they are evenly distributed.
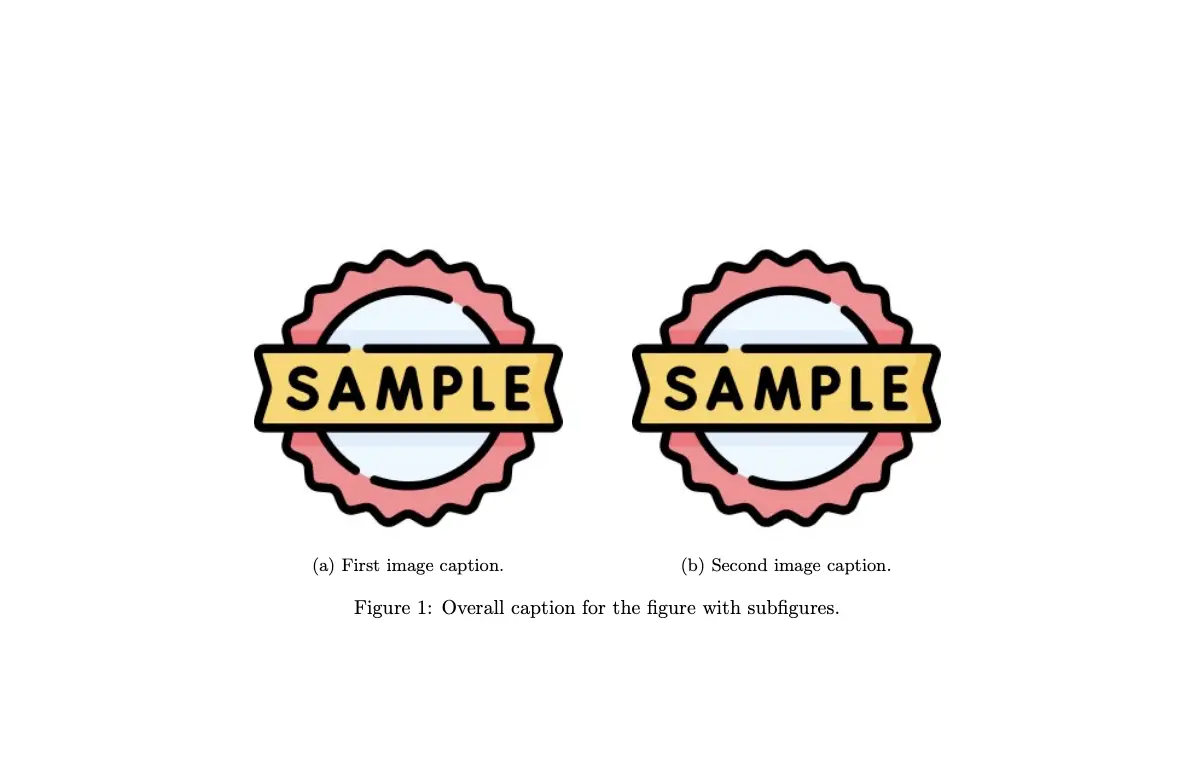
Adding individual captions for each subfigure is straightforward, as shown in the example. Each subfigure can have its own caption, enhancing clarity and providing context to each image. The overall caption for the entire figure can be placed after the subfigures for better formatting.
Conclusion
In conclusion, effectively handling JPG images in LaTeX involves:
- Adding Images: Use
\includegraphics{}to insert images. - Positioning: Employ the
figureenvironment and placement specifiers like[h],[t],[b], and[!h]. - Aligning: Use
\centering,flushleft, orflushrightfor alignment. - Customizing: Adjust size, rotation, and trimming with parameters like
width,angle, andtrim.
Experiment with options such as:
- The
subfigorsubcaptionpackage for multiple images. - The
wrapfigpackage for text wrapping around images. - Alignment and spacing adjustments for better layout.
Mastering image handling in LaTeX results in:
- Enhanced visual quality and professionalism.
- Improved formatting flexibility.
- Increased reader engagement through effective image integration.